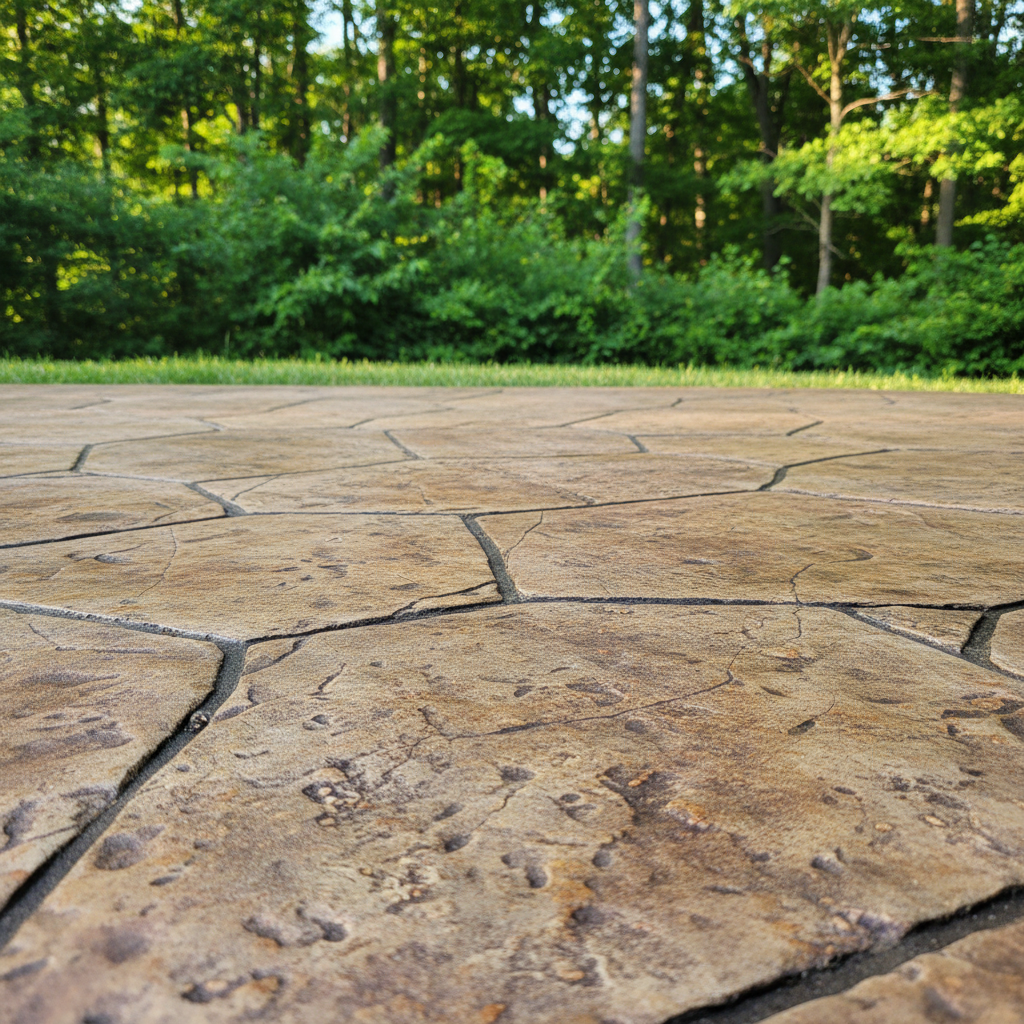
Thinking Decorative Concrete? Here's the Deal.
You've seen those stunning patios, walkways, or even interior floors that look just like stone, wood, or maybe they just have a really cool, one-of-a-kind finish. That's decorative concrete, and honestly, it's a fantastic way to give your home's curb appeal and value a real shot in the arm. But before you jump in, you're probably asking yourself: can I tackle this myself, or do I need to call in the pros? It's a fair question, and the answer, well, it's not always a simple yes or no.
As someone who's been pouring and finishing concrete all over Oak Ridge for years now, I've witnessed countless projects – the good ones, the bad ones, and the ones that make you say, 'oh dear, what exactly went wrong here?' Let's chat about what you really need to know, from start to finish.
Before You Even Think About Mixing
First things first, what kind of decorative concrete are we even talking about? There's stamped concrete (we've gone over that one before, so I won't get into all the tiny details here), stained concrete, polished concrete, and even overlays. Each option brings its own set of challenges, you know?
The biggest "before" step? Planning. Seriously, do not skip this part. What's the concrete for? A little garden path? A brand-new patio? An indoor floor? The size and spot of your project will decide a lot. For example, if you're picturing an outdoor patio, you absolutely have to think about drainage. We get some pretty serious rain here in East Tennessee, and the last thing you want is water pooling right up against your foundation.
Next, take a good look at your existing surface. If you've got an old, cracked concrete slab, you might be able to do an overlay, but only if the base underneath is still solid. If it's too far gone, you're looking at demolition and a fresh pour, and that's almost always a job for the experts.
So, where's the DIY sweet spot? Small, simple projects on an already stable slab, like staining a garage floor that's in good shape, or maybe a very small, non-structural pour for a stepping stone path. Anything that involves digging, grading, or a large new pour? That's when you really start leaning hard towards calling someone like Valley Concrete.
During the Project: Where DIY Gets Tricky
Alright, let's say you've picked a project you *think* you can manage. Maybe you're staining a small concrete pad. You'll need to clean it thoroughly – and I mean *really* thoroughly. Any speck of dirt, grease, or old sealer will stop the stain from soaking in evenly, and you'll end up with splotches. Then there's putting it on. Stains, especially acid stains, can be a bit unpredictable. They react with the minerals in the concrete, and you don't always know the exact color you'll get until it's dry. It's more of an art form than just a simple paint job, believe me.
Now, if you're talking about a new pour, even a small one, things get way more complicated. Mixing concrete correctly is a precise science. Too much water, and it's weak. Too little, and you can't even work with it. Then you've got to pour it, level it, float it, and finish it – all within a tight window before it starts to harden. That perfect window for getting a good finish is surprisingly short, especially on a hot Oak Ridge summer day.
For anything that involves pouring new concrete, whether it's a small walkway or a big patio, I'd strongly suggest hiring a professional. We have the right equipment, the experience, and the crew to get it done right the first time. Mistakes with concrete are expensive, and they're really, really hard to fix. You don't want to be staring at a lumpy, uneven, or cracked slab for years just because you tried to save a few bucks on labor.
After It's Done: Protection and Maintenance
So, you've got your beautiful decorative concrete. What next? This part is super important, and it's where homeowners can definitely take charge. Proper sealing is a must for most decorative concrete, especially outdoors. It protects against stains, weather, and general wear and tear. You'll need to put on new sealer every few years, depending on the type you used and how much foot traffic the surface gets. It's a pretty straightforward process: clean the surface, let it dry completely, and then apply the sealer following the manufacturer's instructions.
Cleaning is also key. For most decorative concrete, a quick sweep and an occasional wash with mild soap and water is usually all you need. Stay away from harsh chemicals or pressure washers that are too powerful, because they can damage the finish or sealer. If you have stained concrete indoors, just treat it like any other hard floor – regular sweeping and damp mopping.
One thing I've noticed in our area, particularly with the clay soils we have, is that if the concrete wasn't prepped and compacted properly underneath, you might see settling or cracking over time. While you can't prevent that after the fact, good maintenance does help protect the surface from more damage if small cracks do pop up. Catching issues early, like a worn-down sealer, can definitely prevent bigger problems down the road.
So, can you DIY decorative concrete? For very small, non-structural projects like staining an existing, sound slab, or maybe a simple concrete overlay on a small, stable area, sure, perhaps. But for anything involving new pours, major repairs, or complex finishes like stamping or polishing, you're almost always better off bringing in a professional. It's an investment in your home, after all, and getting it right the first time will save you headaches and money in the long run.