Thinking About a New Concrete Slab? Here's the Lowdown
So, you're looking at that worn-out patio, or maybe you're dreaming of a new shed foundation, and you're thinking, "Can I pour concrete myself?" It's a common question, especially for folks here in Oak Ridge who like to get their hands dirty. Concrete flatwork – things like patios, sidewalks, driveways, and shed pads – it looks simple enough, right? Mix, pour, smooth. But there's a lot more to it than that, and knowing when to DIY and when to call a pro can save you a ton of headaches, and money, in the long run.
I've seen plenty of DIY concrete jobs over the years, some good, some... well, let's just say they ended up costing more to fix than if the homeowner had just hired someone from the start. Let's break down what you need to consider before, during, and after your concrete project.
Before You Even Think About Mixing
This is where most DIY projects either succeed or fail. Proper planning and preparation are absolutely crucial. You can do a lot of this yourself, and you should.
Permits: First things first, check with the City of Oak Ridge Planning Department. Even a simple patio might need a permit, especially if it's over a certain size or affects drainage. You don't want to pour a beautiful slab only to be told you have to tear it out.
Location, Location, Location: Where's this slab going? Think about drainage. You want water to flow away from your house, not towards it. This means proper grading. Also, call 811 before you dig – always. You don't want to hit a gas line or electrical conduit. Trust me on this one.
Excavation and Subgrade: For smaller projects like a stepping stone path or a small shed pad, you can probably handle the digging yourself. You'll need to remove topsoil, roots, and any organic material. Then, you'll need a good, stable base. Here in Oak Ridge, we've got a lot of clay soil, which can be tricky. It expands and contracts with moisture, so you need to compact your subgrade really well. Often, a layer of compacted gravel (typically 4-6 inches of crusher run) is necessary to provide a stable, well-draining base.
Forms: Building sturdy forms is essential. They hold the concrete in place and define the shape and height of your slab. For a simple square or rectangle, you can use 2x4s or 2x6s, depending on your desired slab thickness. Make sure they're level and securely staked. This is definitely a DIY-friendly step, but take your time to get it right.
Reinforcement: For anything structural, like a driveway or a larger patio, you'll need reinforcement. This usually means rebar or wire mesh. It helps prevent cracking from temperature changes and ground movement. Laying out and tying rebar can be done by a homeowner, but getting the spacing and proper elevation (keeping it in the middle of the slab) is important.
During the Pour: This is Where It Gets Tricky
Okay, you've done all the prep. Now for the concrete itself. This is often the point where homeowners realize they might be in over their heads. Concrete waits for no one, and once it's mixed, you're on the clock.
Mixing: For very small jobs – a single stepping stone, a small repair – you can mix bags of concrete yourself in a wheelbarrow or a small mixer. But for anything larger than, say, 10 square feet, you'll want to order ready-mix concrete. It's delivered by truck, and it's a game-changer for larger projects. This is where you need to coordinate. The truck shows up, and you need to be ready to go.
Pouring and Spreading: Once the concrete is in the forms, you need to spread it evenly. This is hard work, and it's best done with at least two or three people. One person can't usually handle a full truckload of concrete on their own.
Screeding and Floating: Screeding is pulling a straight edge across the forms to level the concrete. Floating smooths the surface and brings the 'cream' to the top. These steps require a bit of feel and timing. If you do it too early, you'll just be moving mud. Too late, and it's too stiff to work. This is often where DIY projects start to look wavy or uneven. A small hand float is manageable, but for larger areas, a bull float is needed, and that takes some practice.
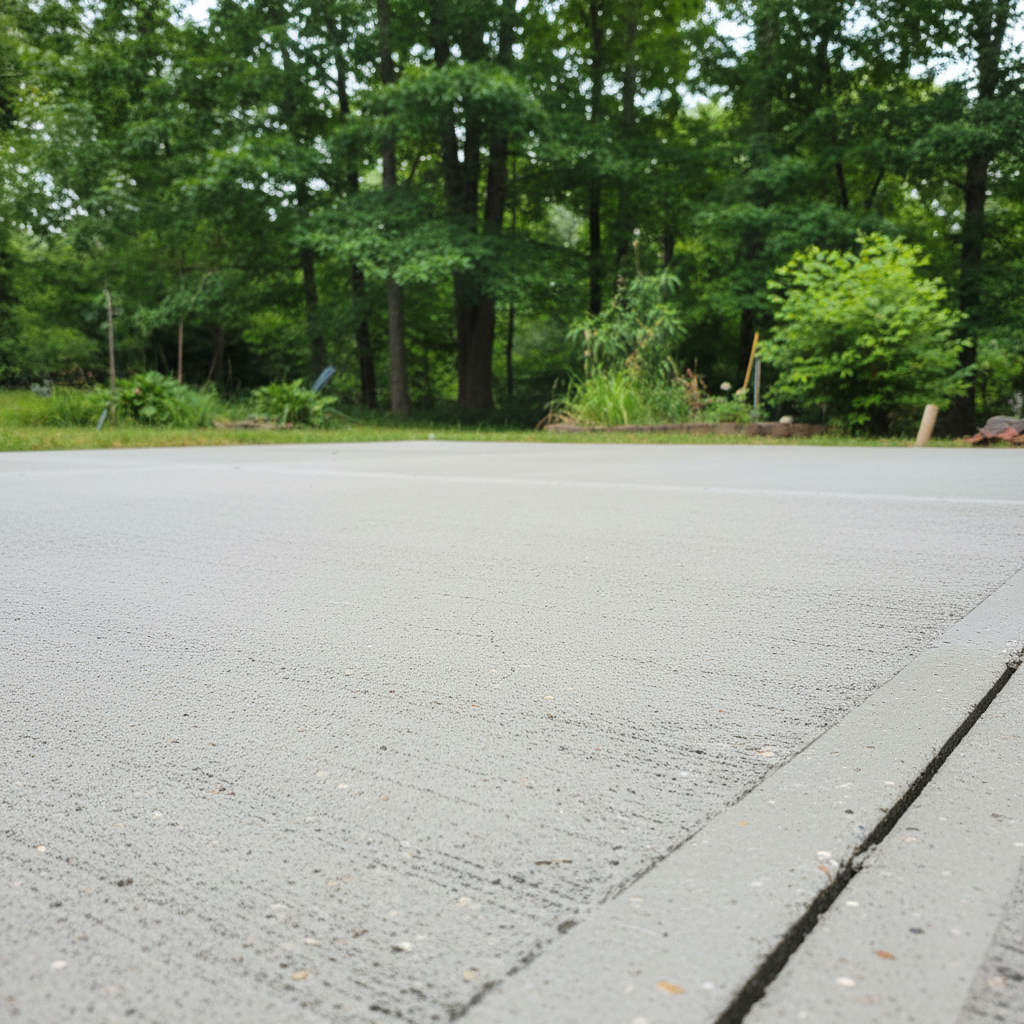
Finishing: This is the final touch – troweling, brooming, or adding decorative elements. A broom finish is common for slip resistance on outdoor surfaces. Getting a consistent broom finish takes a steady hand and good timing. If you want a perfectly smooth, hard troweled finish, that's definitely a job for someone with experience.
When to Call Valley Concrete: Honestly, for anything bigger than a small shed pad (say, 8x10 feet) or a short sidewalk section, you're probably better off calling us or another professional. We've got the equipment, the crew, and the experience to get it done right the first time. We can handle the heavy lifting, the precise leveling, and the finishing that makes your concrete look great and last for decades. Especially for driveways or larger patios, the cost of renting equipment, buying materials, and the potential for mistakes often outweighs the cost of hiring a pro.
After the Pour: Curing is Key
You've poured it, you've finished it. Now what? You're not done yet. Proper curing is just as important as the pour itself. This is something you can definitely manage yourself.
Keep it Wet: Concrete doesn't dry; it cures. This is a chemical process that requires moisture. For at least 5-7 days (and ideally longer, up to 28 days for full strength), you need to keep the concrete moist. You can do this by misting it with water, covering it with plastic sheeting, or using a curing compound. This prevents rapid drying, which can lead to surface cracks.
Stay Off It: Don't walk on it for at least 24-48 hours. Don't drive on it or place heavy objects on it for at least 7 days, and preferably longer. Full strength takes about 28 days. Patience here will pay off with a stronger, more durable slab.
Sealing: Once your concrete is fully cured, consider applying a good quality concrete sealer. This protects it from stains, moisture, and freeze-thaw cycles, which are definitely a thing during our Oak Ridge winters. Sealing is an easy DIY job that extends the life and look of your concrete.
So, can you pour your own concrete? For small, non-critical projects, absolutely. But for anything that needs to look good, last a long time, or bear significant weight, you're usually better off letting the pros handle it. We're here to help if you decide to go that route.